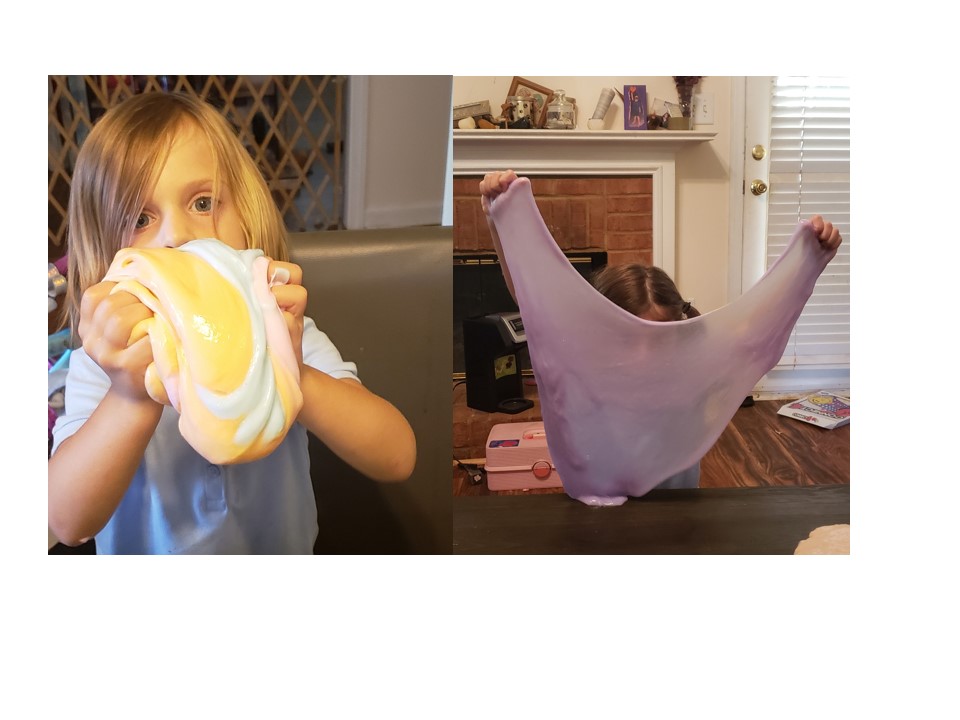
The other day, I walked into the kitchen to find my 7 year old seconds away from digging her hands into a bowl full of super glue and water. She was trying to make slime. She had never tried to make it with superglue and wanted to see if it would work. Makes sense – we all see the commercials with kids making slime out of glue. After I (thankfully) stopped her from permanently gluing her hands together, she asked me “But would it have worked?” and I didn’t know the answer! Making slime is one of the biggest kid crazes these days, and STEM moms like me are thrilled because (hear the sound of the angels singing) our kids are ASKING TO PLAY WITH SCIENCE!! But do kids actually understand what is happening when they’re making slime? Do we? Why does the slime come out too stiff sometimes? Why are there so many different slime recipes out there? Are they really all that different?
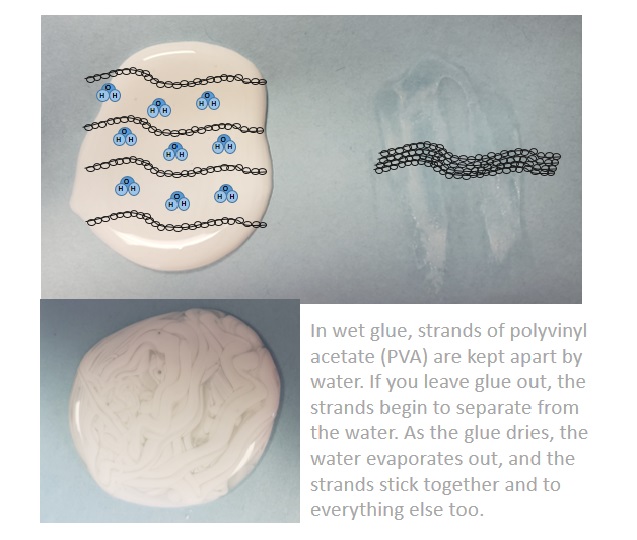
Well, after studying up on slime chemistry, I found out that, no, the super glue would not have worked, and she really would have glued her hands together for nothing. The key to making slime is a polymer called Polyvinyl acetate (PVA) which is found in the Elmer’s white and clear glues (called PVA glues) that actually advertise their use for slime-making on the bottle. Superglue and some of the other tacky glues don’t have this polymer. It’s PVA that helps to make the line of school glues washable. Inside glue, there are many sticky strands of PVA that are kept from sticking together by water that is mixed in with the strands. The water lets the strands slip by one another, which is why glue is liquid. The glue dries when water evaporates from it, and the strands are then able to stick together, and to the table or chair or project that you’re using it for. If you add water, the strands separate, and you can wash them off.
How does PVA help to make slime?
It turns out that if you link the PVA strands together without allowing them to completely stick, you can add some structure to the glue while also keeping enough of the water in it to keep it somewhat fluid. We can link the strands using a variety of substances that have been labeled “slime activators”. What most, if not all, activators have in common is that they contain boron, which is a mineral that is found in both food and the environment. Boron is often taken as a supplement to improve bone strength, improve strength, and enhance cognitive function. If you check the labels of many household products, like starches, laundry detergents, and even your saline solution, you’ll see variants of boron on the label.
When slime-making first became a thing, most slime was made using Borax, which is a detergent booster and a multi-purpose household cleaner that contains sodium tetraborate. When borax is mixed with water, you get boron ions. These boron ions then link with the strands of PVA and hold them together. This is why a basic recipe for slime includes glue, water, and Borax.
How can slime be made without Borax?
A couple of years ago, a news article came out warning parents about the risks of using Borax in slime recipes. The article showed an 11 year old girl who experienced chemical burns as a result of using Borax when making slime. What the article did not say is that the girl had been making slime for several hours each day for weeks, developed a rash, and then continued to make the slime until she developed blisters. In reality, exposure to the small amount of Borax needed to make slime is not likely going to cause a problem when used less consistently. However, this news article triggered an explosion of “non-Borax” slime recipes. The kicker is that most if not all of these recipes still contain boron, just in a different form, because boron is needed to form the cross-links between those PVA strands!
One of the most popular recipes out now calls for using saline solution as the activator. This recipe also requires baking soda, because the baking soda (sodium bicarbonate) combines with the boric acid in the saline solution to make…you guessed it – boron ions. Those boron ions then form the cross-links that make slime. Additional alternative activators include laundry detergent (contains boric acid) and liquid starch (contains sodium tetraborate). In each case, it’s the production of boron ions that makes your glue congeal into slime.
What about fluffy slime?
My daughter came to me one day and said “Mama, I want to make shaving cream slime!” and after my eye roll over the suggestion of yet another slime making session, I realized I had never heard of shaving cream slime. Were we really now putting shaving cream in slime too?? It turns out, if you replace the water in the standard slime recipe with shaving cream, you can make a slime that is extra fluffy. This makes sense given the role of water in the slime recipe. Remember that it acts to dilute the PVA strands, separating them to prevent too many cross-links from forming. If you substitute shaving cream in there, you are still diluting the glue, but you’re also adding in a lot of air, which helps to puff up the slime. You can get a similar effect if you use dish or laundry detergent in the slime. The bubbles from the soap help add air to the slime and make it fluffier.
How can knowing all of this help me to make the perfect slime?
Most of the slime recipes out there are extremely simple, and seem pretty foolproof. Yet I can’t count the number of times that my kids and I have ended up with slime that is too sticky, or worse, too stiff. Part of that is likely due to the fact that kids are kids, and they probably aren’t measuring the ingredients accurately. But if they understood what the ingredients were doing, they might be able to avoid the common problems that happen when making slime, like…

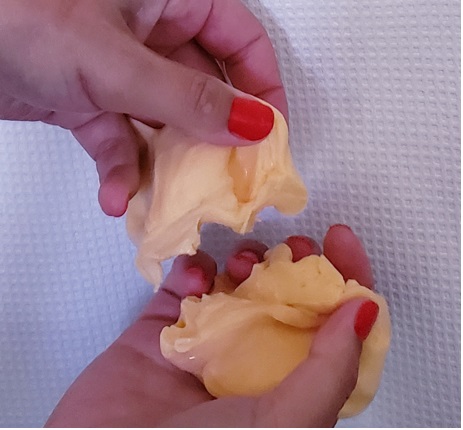
In this case, you probably added too much activator. Remember, the activator forms those cross-links between the PVA strands. When you stretch and smush slime, you are breaking some of the cross-links to make the slime more of a liquid. If you have too much activator, too many cross-links are formed, and your stretching and smushing can’t break enough of the cross-links to make the slime flow. Instead, you just end up breaking the slime.
The other possible problem here is that you might not have used enough water. Water is a key ingredient when you are making slime. Why? Because if you just add the activator, too many cross-links are formed and slime gets stiff. Water acts to dilute the glue, separating the PVA strands, and this prevents too many cross-links from forming, leaving you with wonderfully stretchy slime.

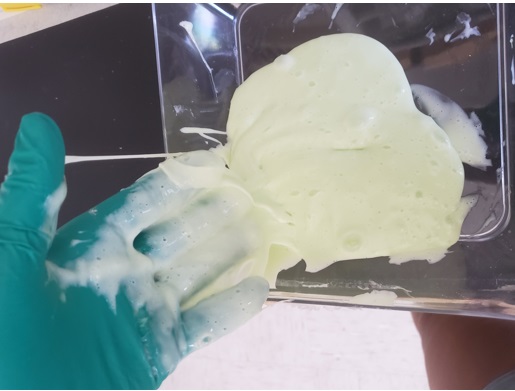
This could be a case of not enough activator, but it could also be because you have not provided the heat needed for the cross-links in your slime to be made. Cross-linking in slime is what’s called an endothermic reaction. That means it needs heat to happen. If you mix the slime with a spoon, you’re not really providing any heat, and it will take longer for the cross-links to be made, if they are made at all. If you instead mix the slime with your hands, the heat from your hands transfers to the slime and helps the PVA strands to link to the boron ions. Your slime then firms up quickly. One of the biggest mistakes people make when making slime is putting in more and more activator, when they really just need to get their hands in there and knead the slime until it comes together.

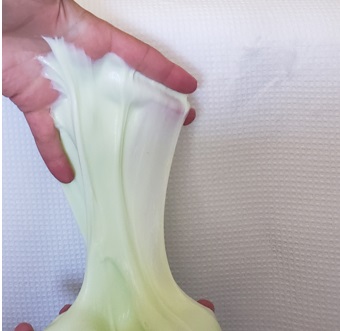
This is particularly common when making slime with saline solution and baking soda. This just indicates that you need more baking soda. If you add more baking soda in small bits, you can get rid of that stickiness. It is also helpful to make slime with liquid starch as the activator rather than borax. The liquid starch helps to tame the stickiness of the slime.

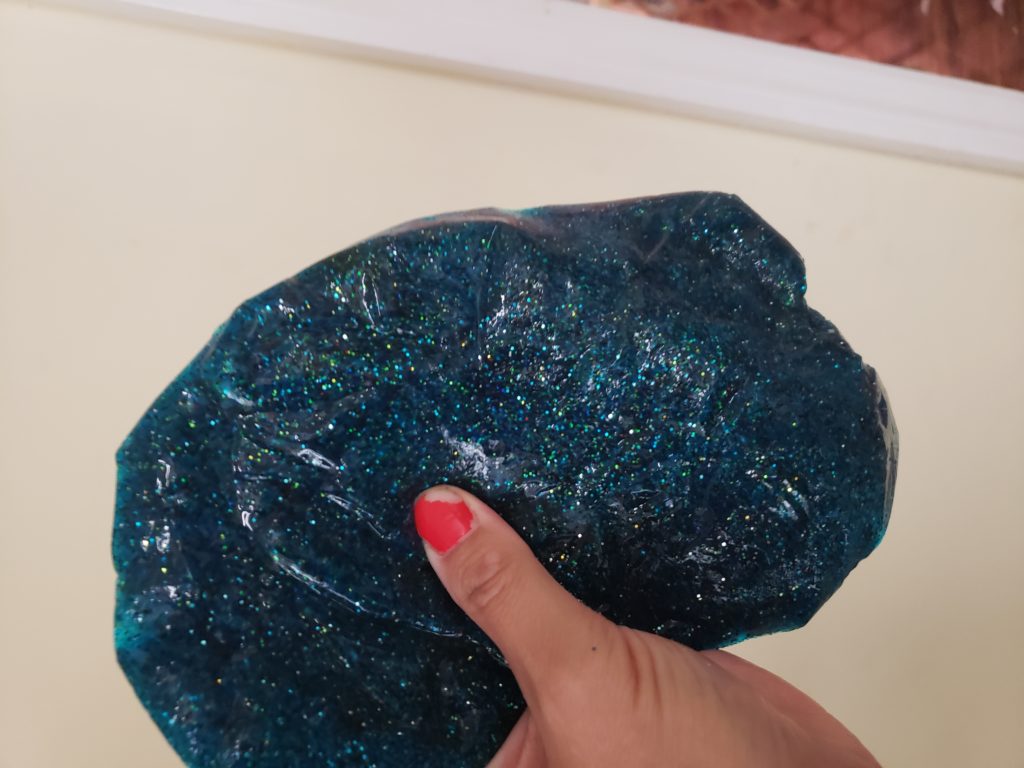
One of the main components of your slime that allows it to keep its squishy nature is water. When slime sits, it starts to dry and forms more crosslinks, which makes it more firm. Recipes that use liquid starch as the activator can help slime to last longer than classing Borax or Saline solution recipes because the starch is better able to trap the water in the slime, but the most important part of storing slime is keeping it in an airtight container. This will prevent water loss. If you keep your slime container in the fridge, that will prevent mold growth too. If you do all three of these, your slime could last a month or even more!
There are some really cool videos and sources out there that provide more information about how slime forms and the many different recipes that are out there for making slime. Check these out!
https://littlebinsforlittlehands.com/slime-activator-list/ – great blog with an excellent list of different slime recipes, including edible slimes!
https://www.youtube.com/watch?v=4F9ukCQvP20 – an awesome video by a mom scientist about the science behind slime.
https://www.businessinsider.com/boron-borates-infographic-2017-10 – a really interesting read about the many many ways that boron shows up in your everyday life.
A special thank-you to Emmy & Addie, my partners in slime!
